

In this how to article I will show you how to remove the badging from the body of your vehicle.
[tyn]Things You'll Need
Step 1.
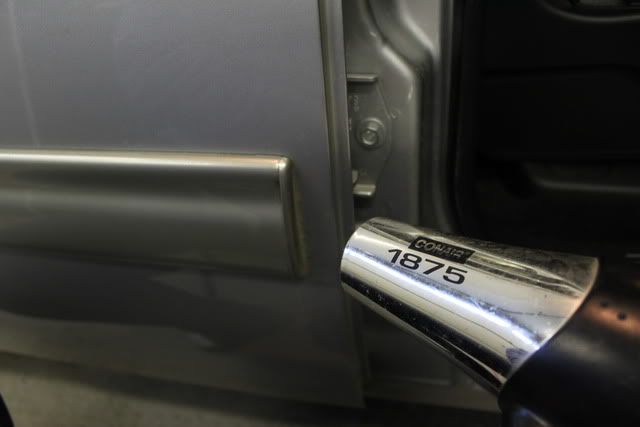
The first step is to take your hair dryer or heat gun and heat up the edge you want to start at.
![Image]()
Step 2.
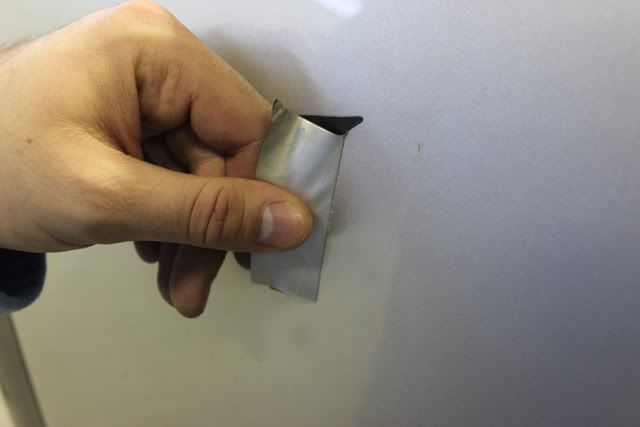
When I started this I originally used a piece of cardboard and a flat blade screwdriver to get behind the trim.. This method will work but you have to be extremely careful using this method as it is easy to have it slip and cause damage to your finish. I read another trick about half way through my project that is safer and easier. Take dental floss or fishing line and run it behind the trim once you have heated up the glue and gently pull the trim back enough so you can grab it with your fingers.
Below is a pic of what I started using.. this method works but be extremely careful not to damage your paint. I did not get a pic of the dental floss idea but strongly recommend this method.
![Image]()
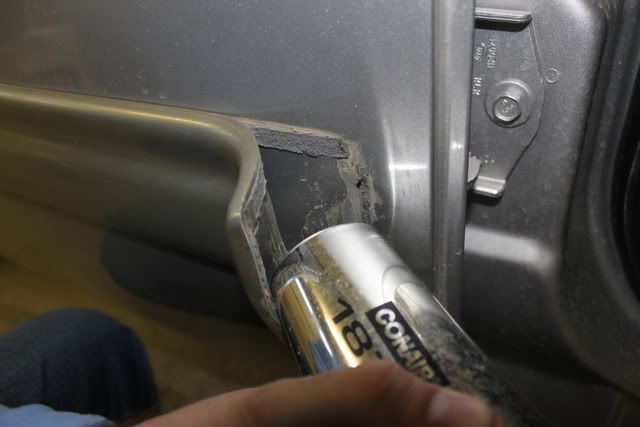
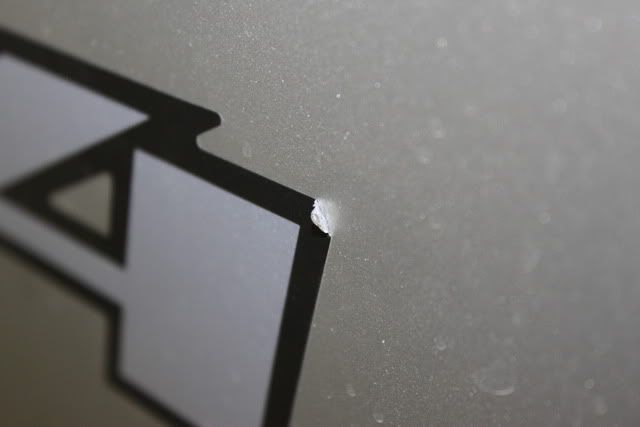
Step 3.
Once you have a corner pulled up grab it with your hands and gently pull back. Follow along the edge with the hair dryer to keep the glue heated up.
![Image]()
![Image]()
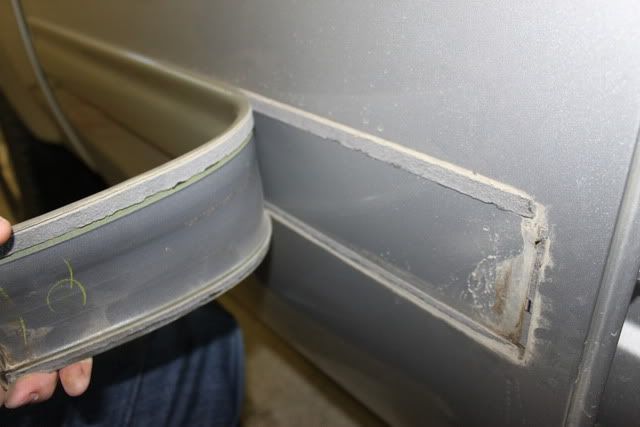
Step 4.
Follow step 3 till the piece of trim is removed and you are just left with the glue residue on the truck.
![Image]()
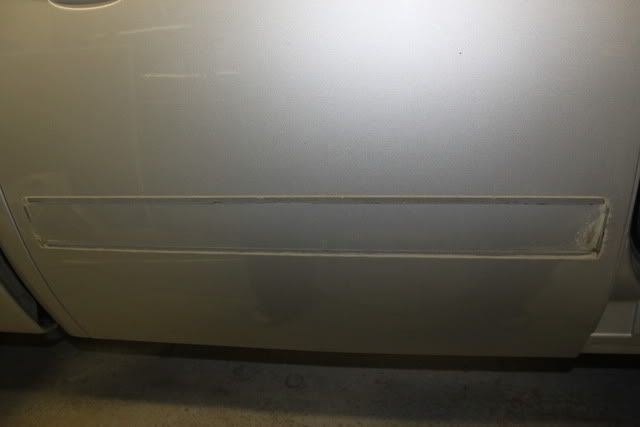
Step 5.
Continue this for the remaining trim pieces you want to remove.
![Image]()
![Image]()
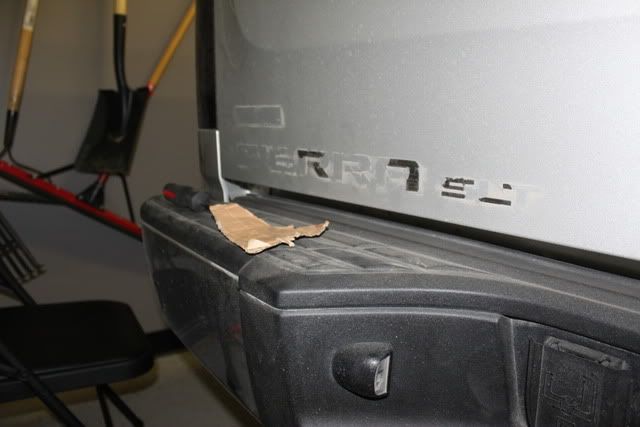
Step 6.
I choose to remove the decal also on the bed. For this step I found it was easier to not use the heat gun. The decal is to thin and the heat gun just makes it harder than necessary. For the sticker just take your finger nail and pull back an edge till you have enough to grab with your fingers. Once you have enough material to grab gently pull the decal back on top of itself. Continue this till the sticker is removed.
![Image]()
![Image]()
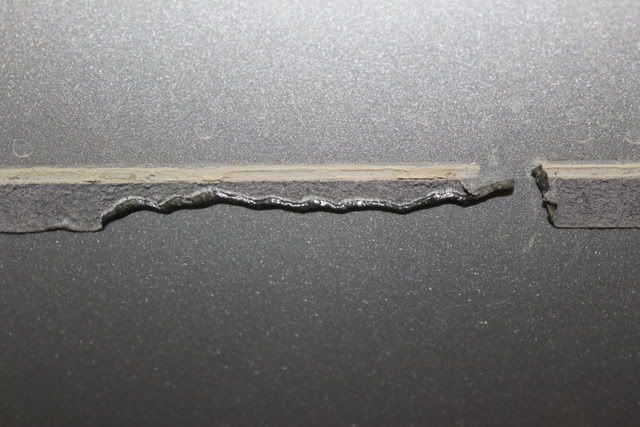
Step 7.
Now that all the trim pieces are removed it comes time for the fun part. For the glue left behind on the door trim simply take your hair dryer and heat the glue up and use your thumb to roll the glue back and pull off.
![Image]()
Once all the glue is removed from that take some bug and tar remover and a clean rag to remove the remaining little glue that is left behind.
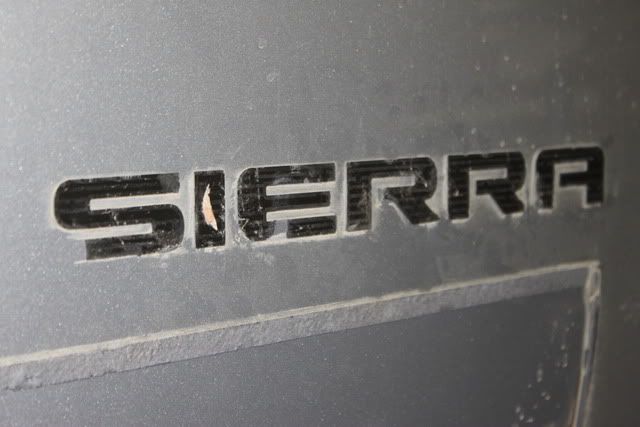
Step 8.
All the glue from the trim came off very easy except for the SIERRA lettering. I am not sure why they choose to use a different glue for this but this was literally a nightmare to remove. The best advice I have for this is soak it in some bar and tar remover (wipe up any that runs down the body). Let it sit for a few minutes and then take your hair dryer and thumb and roll back the glue. It will take some time but it worked for me.
Step 9.
Wipe the rest of the glue residue away with some bug and tar remover and a clean rag.
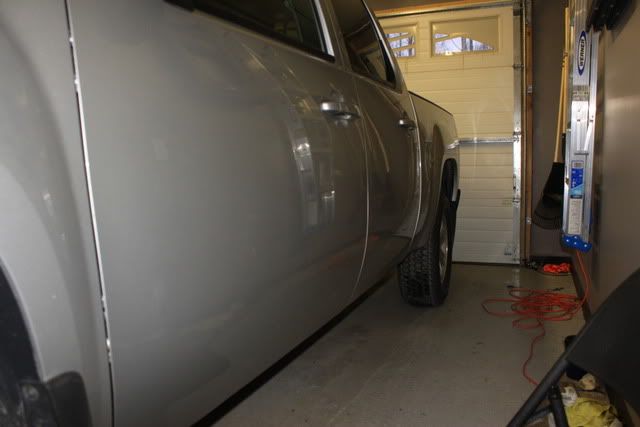
Step 10.
Put a nice coat of wax over the area and enjoy your work.
![Image]()
This is a fairly simple modification, just time consuming. I will post up more pics once the wind dies down outside.
[tyn]Things You'll Need
- Hair dryer or heat gun[/*]
- Bug and Tar remover[/*]
- Dental floss or fishing line.[/*]
Step 1.
The first step is to take your hair dryer or heat gun and heat up the edge you want to start at.
Step 2.
When I started this I originally used a piece of cardboard and a flat blade screwdriver to get behind the trim.. This method will work but you have to be extremely careful using this method as it is easy to have it slip and cause damage to your finish. I read another trick about half way through my project that is safer and easier. Take dental floss or fishing line and run it behind the trim once you have heated up the glue and gently pull the trim back enough so you can grab it with your fingers.
Below is a pic of what I started using.. this method works but be extremely careful not to damage your paint. I did not get a pic of the dental floss idea but strongly recommend this method.

Step 3.
Once you have a corner pulled up grab it with your hands and gently pull back. Follow along the edge with the hair dryer to keep the glue heated up.
Step 4.
Follow step 3 till the piece of trim is removed and you are just left with the glue residue on the truck.
Step 5.
Continue this for the remaining trim pieces you want to remove.
Step 6.
I choose to remove the decal also on the bed. For this step I found it was easier to not use the heat gun. The decal is to thin and the heat gun just makes it harder than necessary. For the sticker just take your finger nail and pull back an edge till you have enough to grab with your fingers. Once you have enough material to grab gently pull the decal back on top of itself. Continue this till the sticker is removed.
Step 7.
Now that all the trim pieces are removed it comes time for the fun part. For the glue left behind on the door trim simply take your hair dryer and heat the glue up and use your thumb to roll the glue back and pull off.
Once all the glue is removed from that take some bug and tar remover and a clean rag to remove the remaining little glue that is left behind.
Step 8.
All the glue from the trim came off very easy except for the SIERRA lettering. I am not sure why they choose to use a different glue for this but this was literally a nightmare to remove. The best advice I have for this is soak it in some bar and tar remover (wipe up any that runs down the body). Let it sit for a few minutes and then take your hair dryer and thumb and roll back the glue. It will take some time but it worked for me.
Step 9.
Wipe the rest of the glue residue away with some bug and tar remover and a clean rag.
Step 10.
Put a nice coat of wax over the area and enjoy your work.
This is a fairly simple modification, just time consuming. I will post up more pics once the wind dies down outside.


