

so im driving home on the freeway go to pass slower traffic. i didnt floor it. just change lanes and went a little faster. next thing i know my oil pressure starts dropping and i start hearing a loud ticking noise . like a failed lifter.
i pulled over right away turned the truck off.i open the hood checked the oil there was oil . it was low about a quart . my truck has never had the oil burning issue .it was already dark so i didnt see any thing strange. i started the truck up. no noise it was running smooth .So i drove it home taking it easy . she ran fine but my oil pressure was lower than normal.
when i got up this morning i went to check i found my entire undercarriage covered in oil . looked around found that the oil cooler line failed. it leaked from the factory crimp.It sprayed oil all over my front axle , upper and lower A arm and the frame.
I have the factory service manual .You have to drop the front axle housing to replace the oil cooler lines. i tried to do it with out doing it with no luck.
called my local dealership they did have one in stock for $87 (amazon has it for $62). but after going through all that work knowing that the factory crimp will fail again i decided to try a different approach . hey if it didnt work i could always go to the dealership and pick up the replacement part.
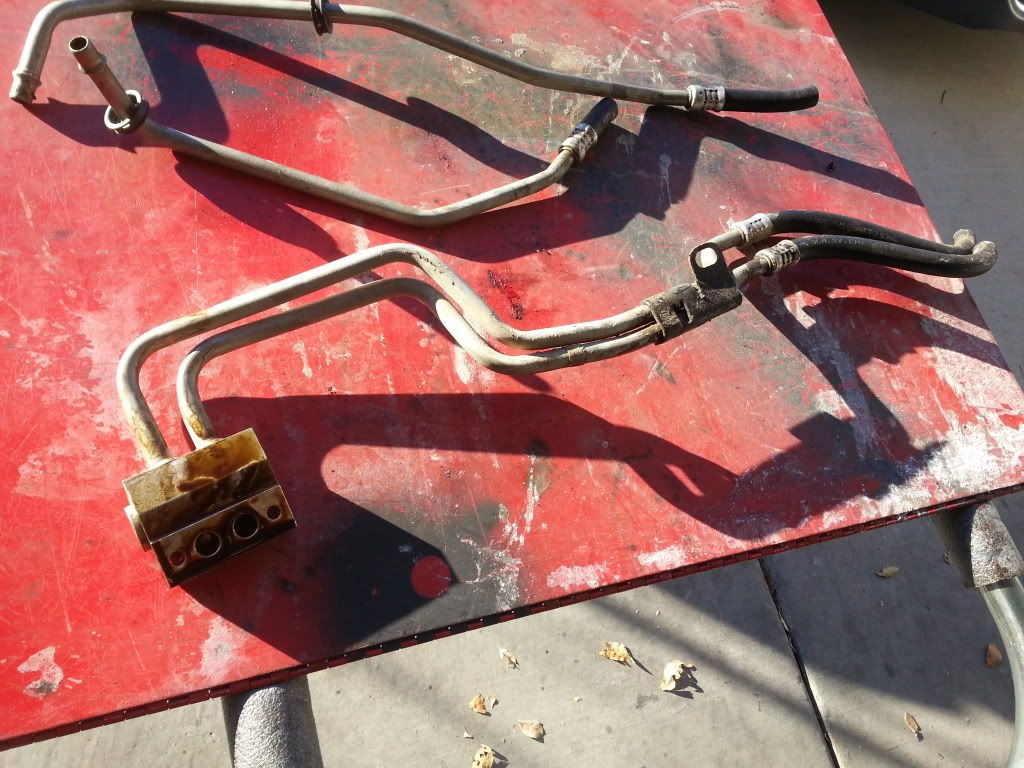
So i dropped the axle .didnt remove it just dropped it enough so that i could remove the line . i cut the hose to make removing it easier
the bottom hose failed at the crimp
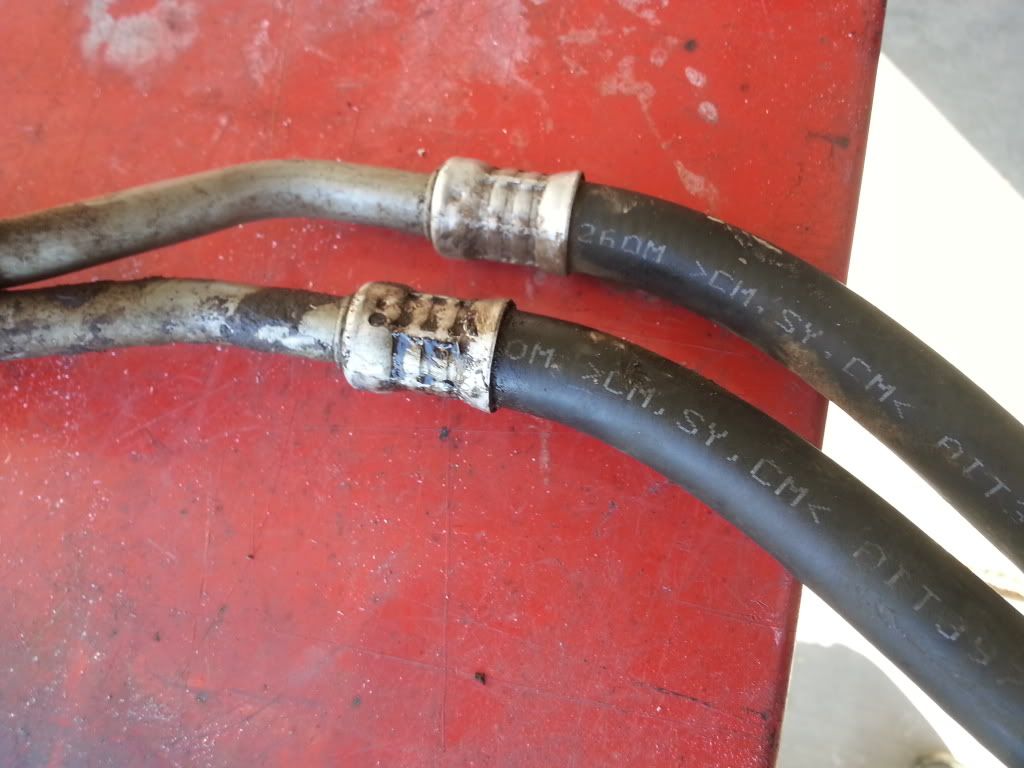
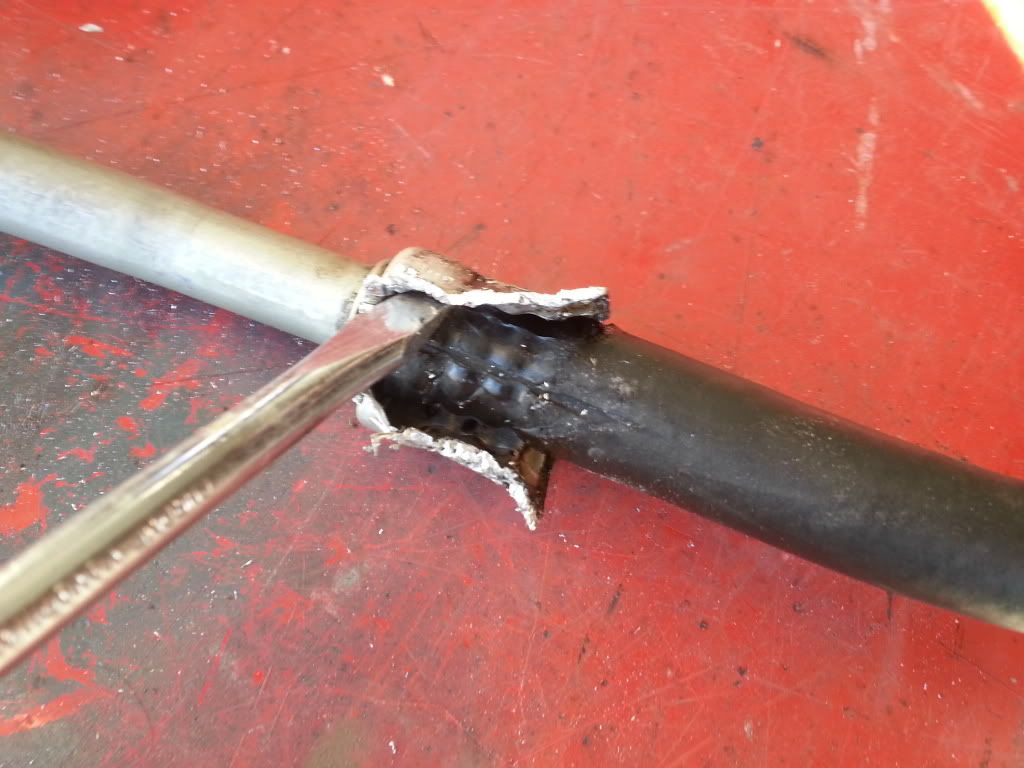
so i grabbed the cutting wheel and started to cut carefully making sure to only cut the crimp not the hose

With a flat blade screw driver i slowly pried the crimp open
once you break the crimp open it will just fall off
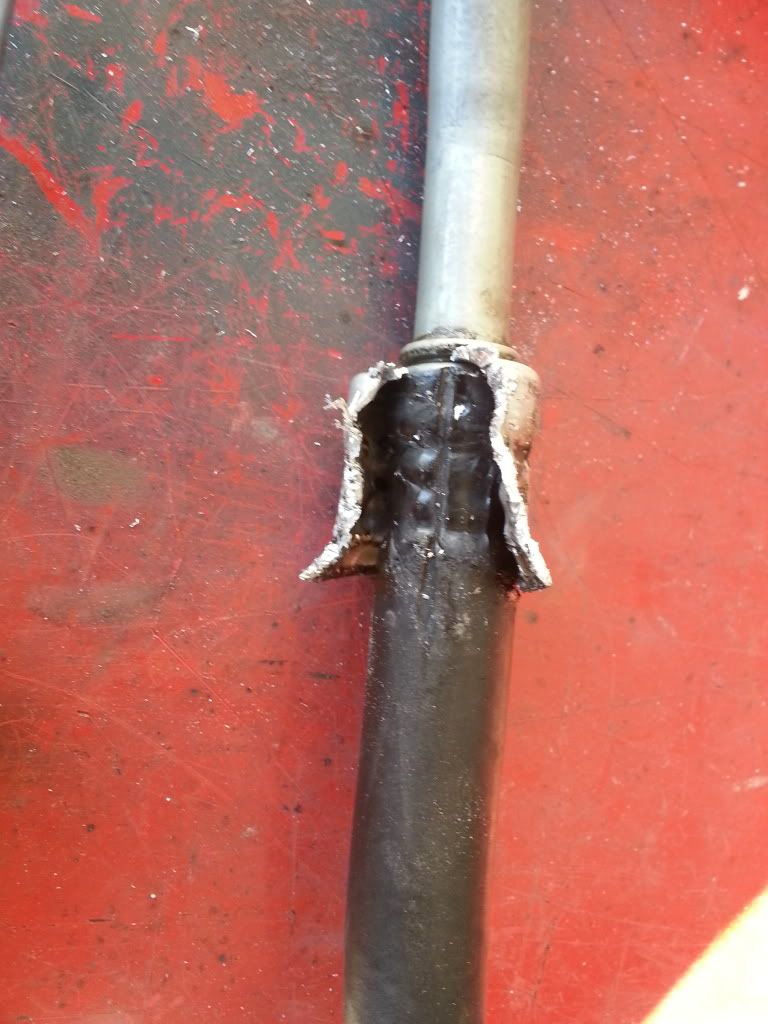
The hose just pulls out. When you are making the cuts make sure you dont cut the flares on the line.
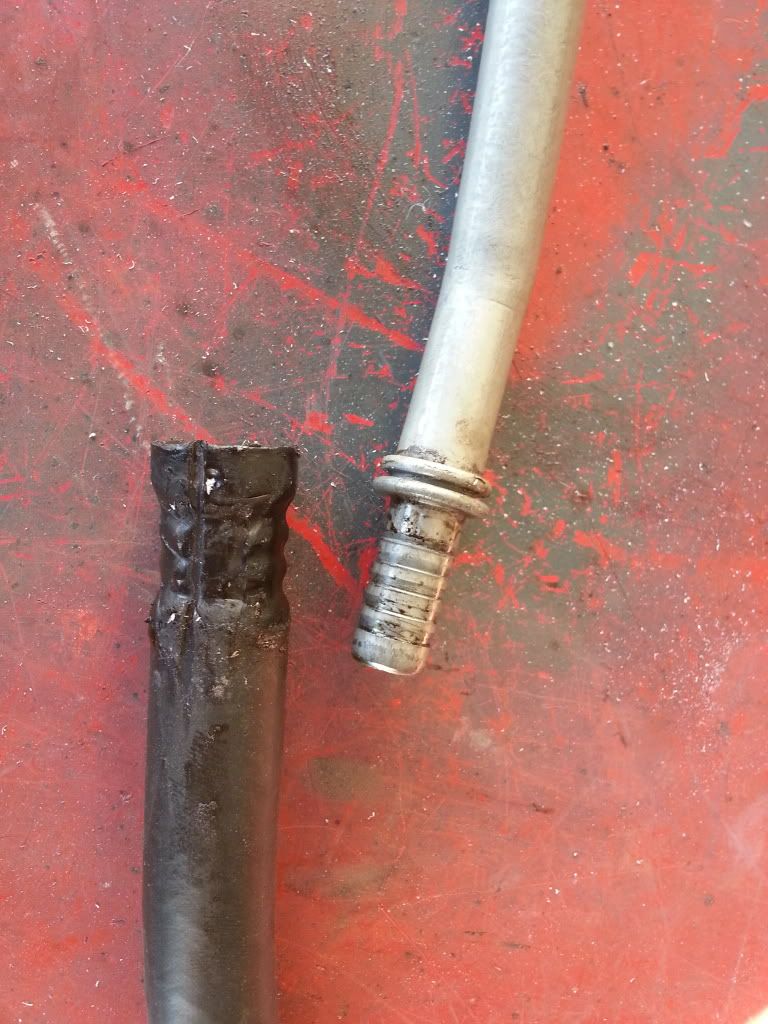
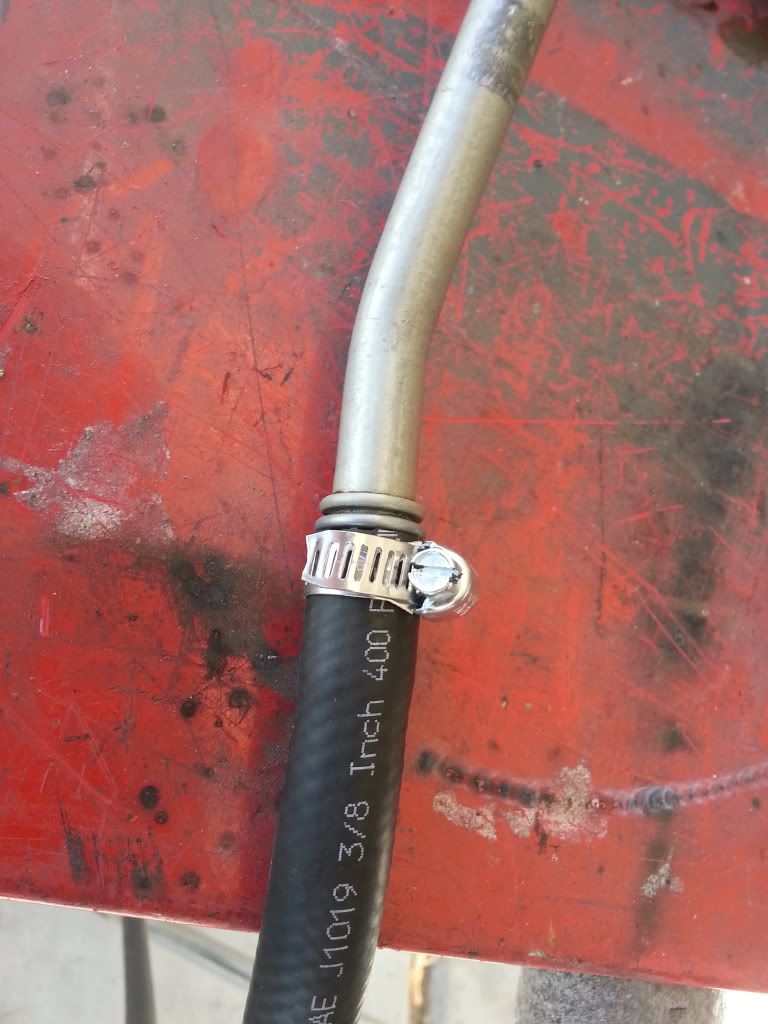
Well once i seen the way this was made i just went down to the local parts store and purchased some 3/8 transmission line. Its rated at 400 PSI . Thats more than enough .Considering your looking at 60 PSI max for the oil cooler. also picked up some clamps

perfect fit
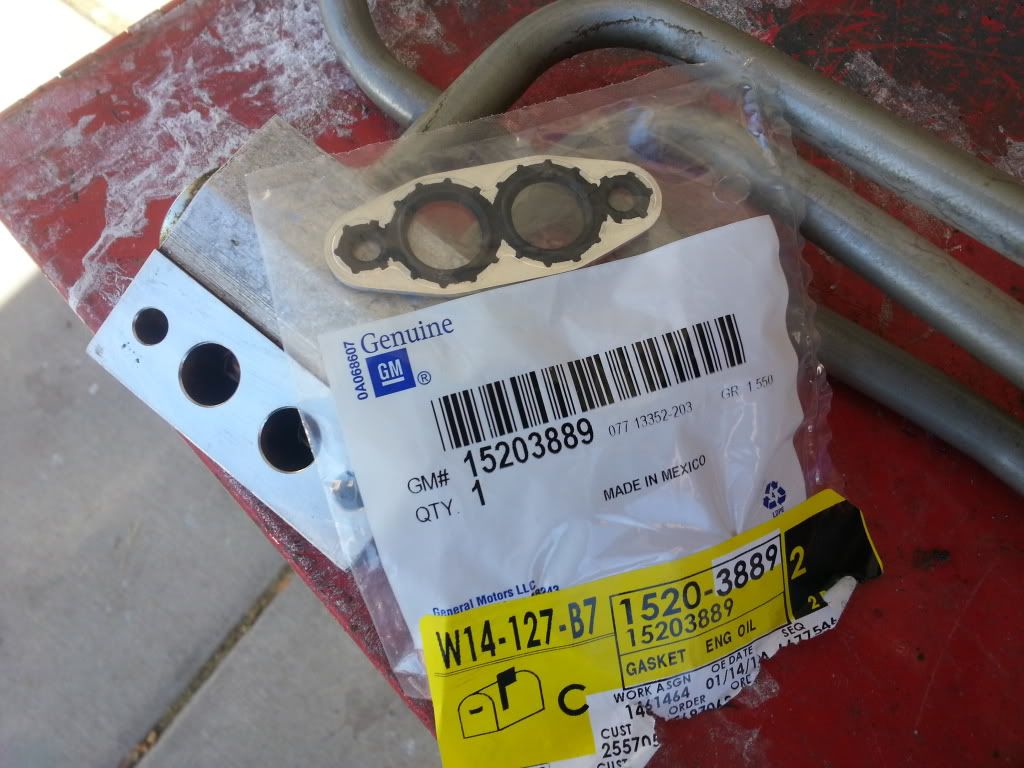
picked up a new gasket to mount it back .
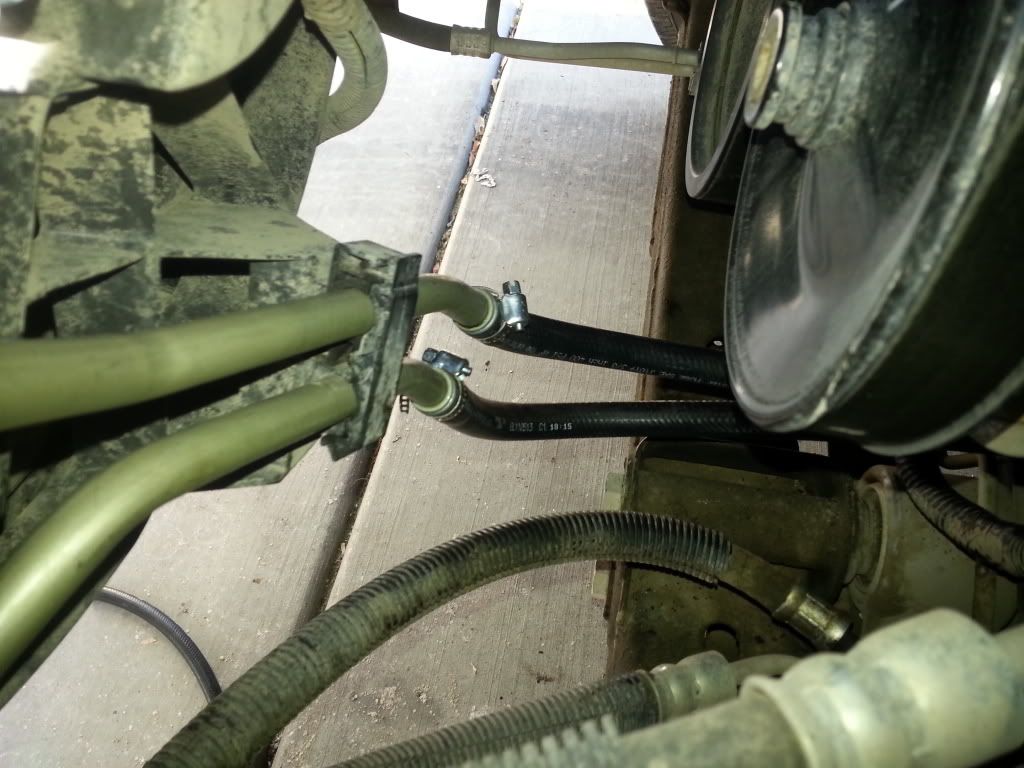
I mounted the lower half to the engine first . Then put the axle back up into its place. Next i installed the lines to the radiator . Once the hard lines are in i then ran the flexible hose. cut to fit them and clamp

Why did i do this instead of getting a new part?
Well if it leaks again i will NOT have to drop the axle all the other bull that goes with it. now all i have to do is loosen the clamps remove the hose and install some new hose line. $10 fix.
I did not include pics of dropping the axle or removing the skis plates . too much stuff . but just download the instruction from rough country for the 3.5 lift and it has step by step on doing so.
put about 100 miles today on a long drive. oil pressure is back to normal no leaks runs great. now time to wash the undercarriage .also did an oil change when i did this
Hope this helps some of you out.
i pulled over right away turned the truck off.i open the hood checked the oil there was oil . it was low about a quart . my truck has never had the oil burning issue .it was already dark so i didnt see any thing strange. i started the truck up. no noise it was running smooth .So i drove it home taking it easy . she ran fine but my oil pressure was lower than normal.
when i got up this morning i went to check i found my entire undercarriage covered in oil . looked around found that the oil cooler line failed. it leaked from the factory crimp.It sprayed oil all over my front axle , upper and lower A arm and the frame.
I have the factory service manual .You have to drop the front axle housing to replace the oil cooler lines. i tried to do it with out doing it with no luck.
called my local dealership they did have one in stock for $87 (amazon has it for $62). but after going through all that work knowing that the factory crimp will fail again i decided to try a different approach . hey if it didnt work i could always go to the dealership and pick up the replacement part.
So i dropped the axle .didnt remove it just dropped it enough so that i could remove the line . i cut the hose to make removing it easier

the bottom hose failed at the crimp

so i grabbed the cutting wheel and started to cut carefully making sure to only cut the crimp not the hose

With a flat blade screw driver i slowly pried the crimp open

once you break the crimp open it will just fall off

The hose just pulls out. When you are making the cuts make sure you dont cut the flares on the line.

Well once i seen the way this was made i just went down to the local parts store and purchased some 3/8 transmission line. Its rated at 400 PSI . Thats more than enough .Considering your looking at 60 PSI max for the oil cooler. also picked up some clamps

perfect fit

picked up a new gasket to mount it back .

I mounted the lower half to the engine first . Then put the axle back up into its place. Next i installed the lines to the radiator . Once the hard lines are in i then ran the flexible hose. cut to fit them and clamp


Why did i do this instead of getting a new part?
Well if it leaks again i will NOT have to drop the axle all the other bull that goes with it. now all i have to do is loosen the clamps remove the hose and install some new hose line. $10 fix.
I did not include pics of dropping the axle or removing the skis plates . too much stuff . but just download the instruction from rough country for the 3.5 lift and it has step by step on doing so.
put about 100 miles today on a long drive. oil pressure is back to normal no leaks runs great. now time to wash the undercarriage .also did an oil change when i did this
Hope this helps some of you out.


